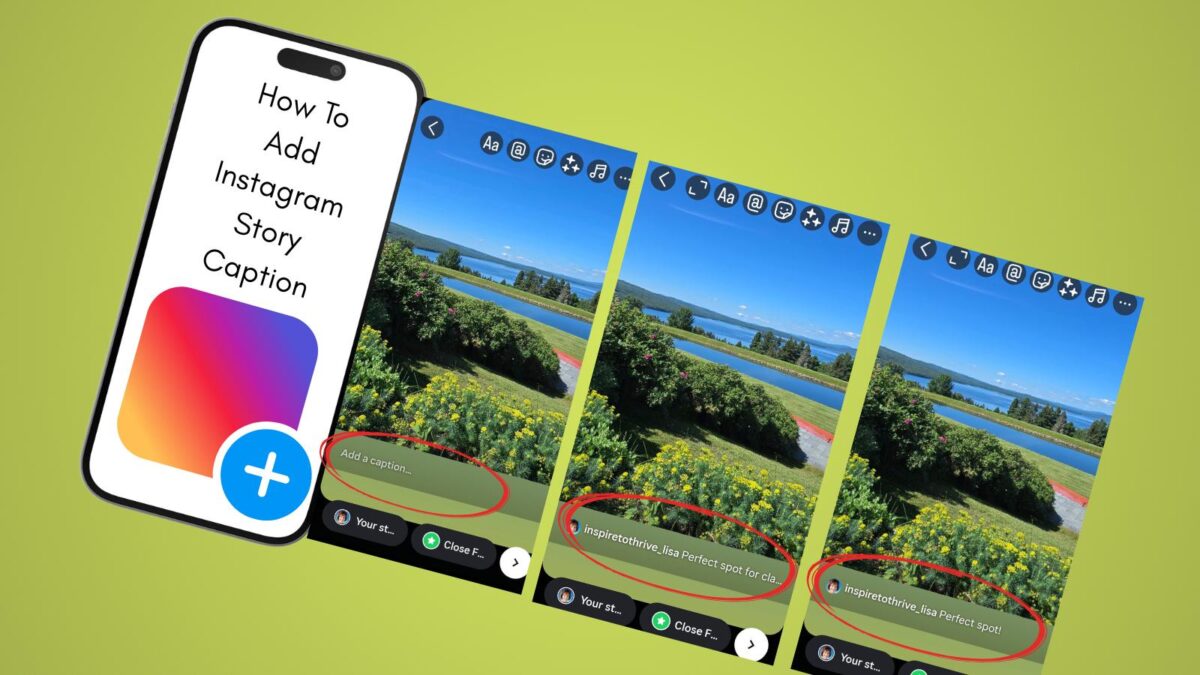
Instagram Reels have taken over as the go-to way to connect, entertain, and inspire. Today, you will learn how to edit Instagram reels to make them more engaging.
Whether you’re a small business owner, a content creator, or just someone who loves sharing life’s moments, mastering Instagram reels can help you stand out and thrive on the popular Instagram platform.
Estimated reading time: 1 minute
Table of Contents
Key Takeaways
- Instagram’s built-in Reel editor is enough for most edits. You can trim clips, change speed, add audio, effects, text, stickers, and voiceovers without extra apps.
- Keep Reels short for higher retention: 15 to 30 seconds is a strong target, and videos under 90 seconds tend to perform better than longer videos.
- Hook viewers in the first 3 seconds by cutting dead time, using fast pacing, and syncing cuts to the beat when possible.
- Use audio on purpose: pick trending music from Instagram’s library or record original audio, then balance the music volume with your voice.
- After posting, you can edit the caption, hashtags, tags, and cover photo, but you can’t edit the video, audio, or effects; to change those, you must delete and re-upload.
Mastering Reels
The best part? You don’t need fancy software—Instagram’s built-in editing tools are powerful enough to turn your raw clips into scroll-stopping masterpieces. Ready to level up?
Here’s your step-by-step guide to editing Instagram Reels like a pro.
Step 1: Start with Your Vision
Before you dive into editing, think about your goal. Are you inspiring with a travel montage, teaching a quick tip, or jumping on a viral trend?
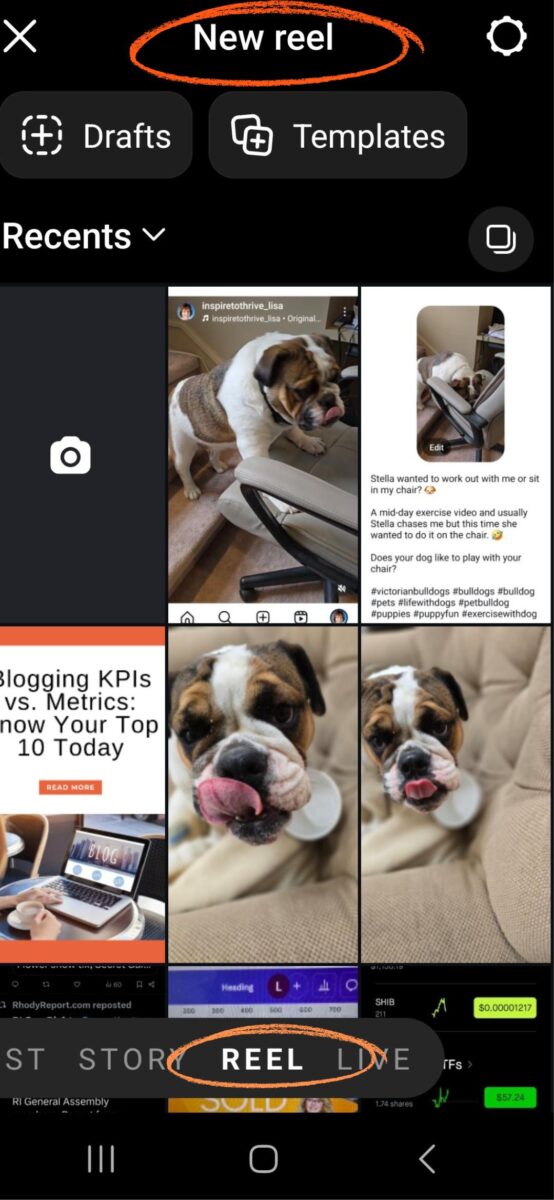
Having a clear vibe in mind—like “cozy spring aesthetic” or “high-energy dance challenge”—sets the tone for your edits. Open Instagram, hit the “+” icon, and select “Reel” to get started.
Record live by holding the capture button, or upload clips from your camera roll by tapping the gallery icon.
Step 2: Trim and Tighten Your Clips
Great Instagram Reels are snappy—usually 15-30 seconds—so trimming is your first move. Tap the scissors icon to access the timeline to edit your Instagram reel.
Drag the edges to cut out shaky starts, awkward pauses, or anything that doesn’t serve your story.
Pro tip: Keep the pace lively to hook viewers in those first 3 seconds—Instagram’s algorithm loves retention!

Step 3: Play with Speed for Impact
Want to slow down a dramatic reveal or speed up a recipe demo? Tap the “1x” icon to adjust playback speed (from 0.3x to 3x).
Slow motion can make a floral arrangement feel luxurious, while fast-forwarding a workout keeps it punchy. Experiment to match your vibe—speed is a simple trick to make your Reel feel fresh.

Step 4: Set the Mood with Audio
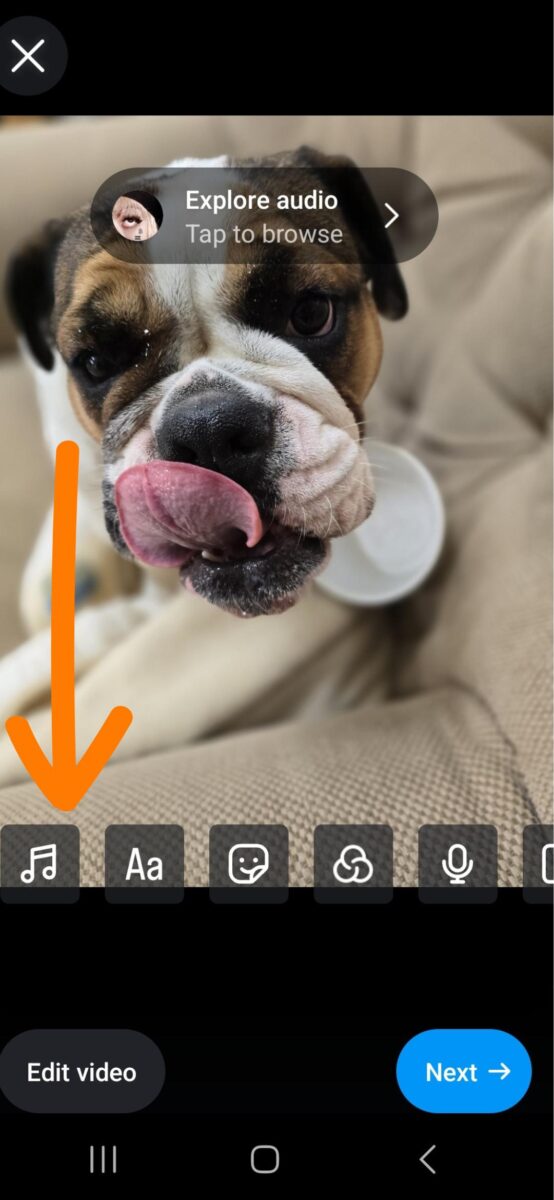
Sound is half the magic of Reels. Tap the music note icon to browse Instagram’s audio library—check the “Trending” section for tracks that could boost your reach.
You can also use your own voice or original audio. Slide the volume controls to balance the track with your clip’s sound—quiet the music a bit if you’re narrating.
For inspiration, try syncing cuts to the beat; it’s a minor edit that feels pro-level.
Step 5: Add Effects for Wow Factor
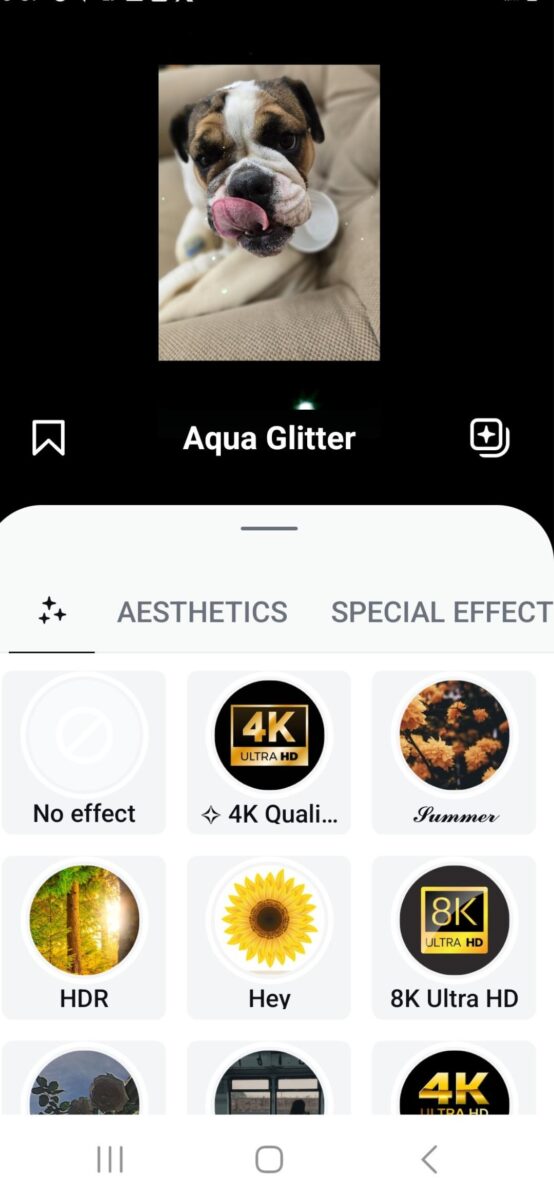
Filters and AR effects can elevate your Reel from basic to bold. Hit the sparkle icon to explore Instagram’s ever-growing library—think glowing skin filters, retro VHS vibes, or fun animations.
Timing matters: apply effects to specific frames (like a confetti burst on a big reveal) to keep it dynamic. Transitions like zooms or spins between clips also add polish—play around to find what fits your style.
Step 6: Layer Text and Stickers for Engagement
Text grabs attention and tells your story. Tap the “Aa” icon to add captions, quotes, or calls-to-action (“Follow for more!”). Customize fonts, colors, and timing—make key words pop by having them fade in mid-clip.
Then, hit the sticker icon for extras: polls to engage viewers, GIFs for humor, or location tags to connect locally. Keep it clean—too much clutter distracts from your message.

Step 7: Polish with Voiceovers or Doodles
For tutorials or personal touches, add a voiceover by tapping the microphone icon. Record a quick “Here’s how I did it” to guide viewers—it’s authentic and builds trust.
Feeling artsy? Use the pen icon to draw arrows, hearts, or highlights right on your video. These little details make your reel uniquely yours.
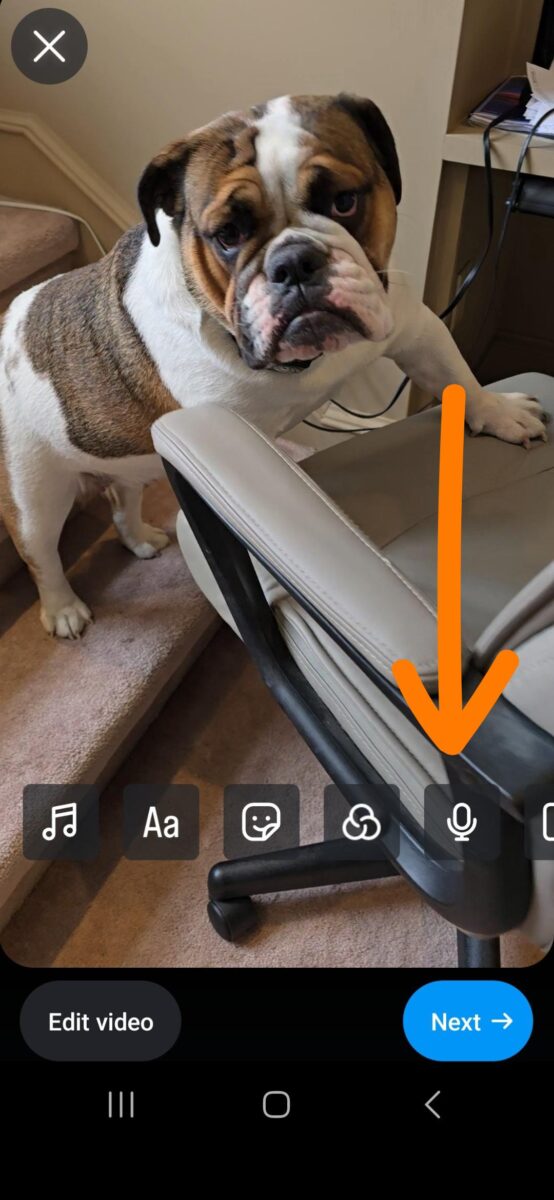
Step 8: Last Step How to Edit Instagram Reels: Preview and Perfect
Hit “Preview” to watch your reel come together. Does the audio sync? Is the text readable? Are the transitions smooth?
Tweak anything that feels off—Instagram lets you jump back to adjust without starting over. Once it’s golden, add a caption, sprinkle some trending hashtags (#Reels, #InspireToThrive), and share to your feed, Stories, or Reels tab.
Bonus Tips to Thrive: How To Fix Reels
- Keep it Short: Reels under 90 seconds (especially 15-30 seconds) drive higher engagement.
- Trend-Spot: Use trending audio or challenges to ride the algorithm wave—check Insights to see what’s hot.
- Practice: The more you edit, the faster you’ll find your flow. Start simple, then layer on flair as you learn more.
How to Edit Instagram Reel Captions
To edit Instagram Reel captions, follow these quick steps. Open the Instagram app and head to your profile. Tap the Reel you want to update. Click the three dots in the bottom-right corner of the post and select “Edit” from the pop-up menu.
Your caption will appear in an editable field—make your changes here. Want to tweak hashtags or fix a typo? Now’s your chance.

Once you’re satisfied, tap “Done” (for iOS) or the checkmark icon (for Android) to save. Keep in mind, while the caption itself changes, any initial comments, likes, or shares remain unaffected.
Always double-check your edits before saving!
Can You Edit an Instagram Reel After Posting
Unfortunately, Instagram doesn’t allow complete editing of Reels after posting—you can’t tweak the video content unless the Reel is muted, audio is off, or effects are disabled once it’s live. However, you can still make some adjustments to refine your post.
After uploading, go to your Reel, tap the three dots in the top-right corner, and select “Edit.” From there, you can update the caption, hashtags, or tagged people to boost discoverability—say, swapping #bulldogs for #bulldoglove if trends shift.
In 2026, remember you can only have five hashtags on Instagram reels.
Adjustments on Reels
You can also adjust the cover photo by choosing a new frame from the video or uploading a custom image to make it pop on your profile. As someone who’s grown my own Instagram following by mastering reels, I’ve learned the hard way that post-upload options are limited—so I always stress-test my edits beforehand.
If you need to change the actual video (e.g., fix a typo in the text overlay or swap the audio), you’ll have to delete the reel and re-upload a new version. Trust me, after years of tweaking strategies for clients and my own brand, I can say with confidence: double-check everything in the preview stage before hitting “Share”—it’s your last shot to perfect it!
How To Edit Instagram Reel Music After Posting
Yes, can you edit the music on an Instagram Reel even when it’s muted. In most cases, you’ll fix it by swapping the audio track on Instagram or Facebook, especially if the original song was removed because the music rights expired or changed.
If your Reel had both original audio and added music, you may also be able to edit the sound mix. That means turning the music up or down, or adjusting the original sound so it isn’t too loud (or too quiet).
On a muted Reel, you’ll often see a message like “Audio unavailable”. Tap it to choose a new song from the platform’s music library. You can usually pick the part of the track you want, so the music starts at the right moment.
Conclusion: How To Change Instagram Reels
Editing Instagram Reels isn’t just about tools—it’s about telling a story that inspires others. Whether you’re sharing a passion, growing a brand, or just having fun, these steps will help you create content that shines.
So grab your phone, play with those edits, and thrive on Instagram like never before. Remember how to edit reels on IG after posting? Only the caption is included.
What’s your next Reel idea? Let it spark something amazing now that you’ve learned how to edit Instagram reels.
Frequently Asked Questions About Editing Instagram Reels
Open Instagram, tap the plus icon, choose Reel, then record or upload clips. Use the built-in tools to trim with the scissors icon, change speed with the 1x icon, add music with the music note, apply effects with the sparkle icon, and add text with the Aa icon. Finish by previewing, then adjust timing, audio, and text before you share.
Short Reels tend to win on engagement. A common sweet spot is 15 to 30 seconds, and Reels under 90 seconds often perform better than longer videos. The main goal is strong retention, keep the pace tight, and cut anything that slows the story.
You can’t fully edit a Reel after it’s posted. Instagram does not let you change the video content, audio, or effects once it’s live. You can still edit the caption, hashtags, tagged people, and cover photo. If you need to change the video itself, you need to delete the Reel and re-upload it.
Go to your profile, open the Reel, tap the three dots, then choose Edit. Update the caption (including hashtags), then tap Done on iOS or the checkmark on Android to save. Likes, comments, and shares stay the same.
Add text only where it helps (captions, key points, a clear call-to-action). Time the text so it appears when it matters, and keep fonts and colors easy to read. Use stickers like polls, GIFs, or location tags sparingly so they support the message rather than distract from it.
- Missinglettr Review: Smart Social Media Marketing Automation - February 4, 2026
- Social Media Marketing Slip-Ups to Avoid Today (and Fix Fast)Slip-Ups - February 4, 2026
- Rebranding Tips for Rebranding Your Blog (Without Losing Trust or Traffic)to Your Blog - February 3, 2026


